Our decidated art teacher, Dorte, has just finished a lovely sculpturing project with the students. In her words, here is how these works of art came to be:
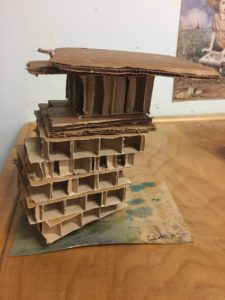
After opening some boxes of furniture, I was somewhat surprised to find that they didn’t use plastic or styrofoam to protect the parts, but just chunky pieces of corrugated cardboard. There were very sturdy and hard to break or bend, but at the same time really light. What a treat!
I thought that all kids at HMS would get something out of a project with this. So I cut them with a saw into different size pieces and asked the kids to build with them.
Requirements were:
- to build on a piece of flat cardboard (as a foot/ base), about the size of a playing card,
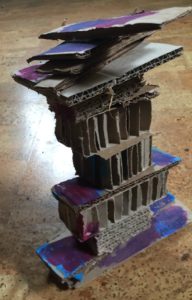
- to build vertically,
- to connect pieces with glue, which would hold them together in a way that they can be flipped over or lifted by a piece on the top, so it wouldn’t fall apart,
- to paint after assembled pieces had dried.
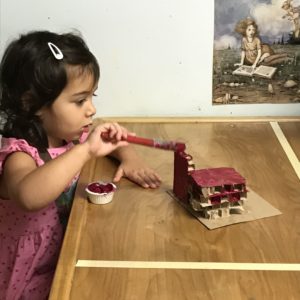 The youngest group (2-3 year olds) was mostly occupied with getting the glue on the cardboard blocks and then sticking them together. They actually had the most fun cleaning up the paintbrushes and the table afterwards.
The middle-aged kids (3-4 year olds) also received some flat cardboard pieces. Since I only suggest shapes, some used them for roofs, some for wings. Painting these pieces is hard not only because they’re 3 dimensional, but also there are a lot of surfaces that are hidden (overhanging parts, holes, etc.).
The oldest kids got mostly flat pieces that were often cut into odd shapes, triangles, very thin or very small pieces. I showed them ways to make those pieces stand up and be stable. The fun part is that the light material allows for things to hang over without tipping. Defying gravity….